
Hey there, trailer enthusiasts! If you're a trailer owner, you know how crucial it is to keep your trailer in top - notch condition. One of the essential maintenance tasks is replacing the bearings in a trailer wheel hub. As a supplier of Trailer Wheel Hubs, I've seen my fair share of trailers and learned a lot about this process. So, let's dive right in and talk about how you can replace those bearings like a pro.
Why Replace the Bearings?
First off, you might be wondering why you even need to replace the bearings in the trailer wheel hub. Well, the bearings are responsible for allowing the wheel to spin smoothly around the axle. Over time, they can wear out due to factors like heat, friction, and exposure to dirt and moisture. When the bearings start to fail, you'll notice some signs. The wheel may make a grinding or humming noise, and you might feel vibrations while driving. Ignoring these issues can lead to more serious problems, like a wheel seizing up, which is definitely a situation you want to avoid.
Tools You'll Need
Before you start the bearing replacement process, you'll need to gather a few tools. You'll need a socket set, a torque wrench, a bearing puller, a hammer, a seal driver, a grease gun, and some high - quality wheel bearing grease. Having the right tools on hand will make the job a whole lot easier and ensure that you do it correctly.
Step 1: Remove the Wheel
The first step is to remove the wheel from the trailer. Make sure the trailer is parked on a flat, stable surface and the parking brake is engaged. Use the socket set to loosen the lug nuts on the wheel. Once they're loose, you can use a jack to lift the trailer off the ground until the wheel is about an inch or two off the surface. Then, remove the lug nuts completely and take the wheel off.
Step 2: Remove the Hub Cap and Dust Cap
After removing the wheel, you'll see the hub cap on the wheel hub. Pry it off using a flat - head screwdriver. Underneath the hub cap, there's a dust cap. You can also use the screwdriver to remove the dust cap. Once the dust cap is off, you'll expose the cotter pin and the castle nut.
Step 3: Remove the Cotter Pin and Castle Nut
Use a pair of pliers to remove the cotter pin. Then, use the socket set to loosen and remove the castle nut. This nut holds the hub and the bearings in place on the axle. Be careful not to lose the cotter pin, as you'll need it later.
Step 4: Remove the Hub
Now that the castle nut is off, you can carefully pull the hub off the axle. It might take a little bit of wiggling and pulling, but it should come off. When you remove the hub, you'll notice that there's a grease seal on the back of it. Try to be gentle so as not to damage this seal.
Step 5: Remove the Old Bearings
Once the hub is off, you can see the old bearings. Use a bearing puller to remove the inner and outer bearings. The bearing puller will grip the bearing and allow you to pull it out. If you don't have a bearing puller, you can use a hammer to tap the bearing out gently. But be really careful not to damage the hub.
Step 6: Clean the Hub and Axle
With the old bearings removed, it's time to clean the hub and the axle. Use a parts cleaner and a rag to clean all the grease, dirt, and debris from the hub and the axle. Make sure to clean inside the bearing races in the hub as well. A clean surface will ensure that the new bearings fit properly.
Step 7: Inspect the Bearing Races
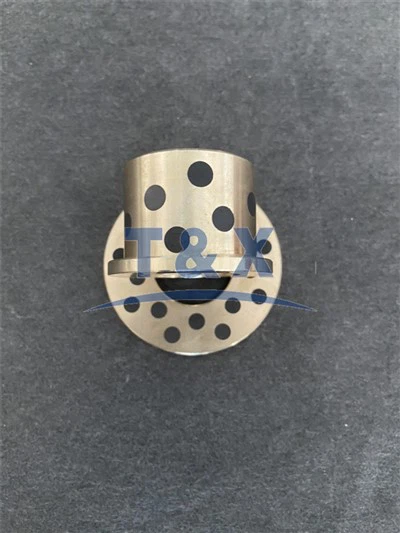
While you have the hub and axle cleaned, take a close look at the bearing races. The bearing races are the grooves in the hub and on the axle where the bearings sit. If you notice any signs of wear, pitting, or damage, you should replace the bearing races. You can find replacement bearing races at most auto parts stores or from suppliers like us. Check out our Trailer Wheel Hubs Kit which might include the bearing races you need.


Step 8: Pack the New Bearings with Grease
Now it's time to prepare the new bearings. Use a grease gun to pack the new bearings with high - quality wheel bearing grease. You want to fill the bearings completely with grease so that they're well - lubricated. This will help them last longer and perform better.
Step 9: Install the New Bearings
Once the bearings are packed with grease, it's time to install them. Start with the inner bearing. Place it into the hub, making sure it fits snugly into the bearing race. Then, install the outer bearing in the same way. Make sure both bearings are properly seated in their races.
Step 10: Install the Grease Seal
After the bearings are installed, it's time to install a new grease seal. Use a seal driver or a socket that fits the seal to gently tap the seal into place. The seal will keep the grease in the hub and prevent dirt and moisture from getting in.
Step 11: Reinstall the Hub
Now that the new bearings and the grease seal are in place, you can put the hub back on the axle. Slide it onto the axle carefully, making sure the bearings align with the axle. Then, install the castle nut and hand - tighten it.
Step 12: Adjust the Bearing Preload
The bearing preload is the amount of pressure applied to the bearings. You need to adjust the bearing preload correctly to ensure that the bearings work properly. Use a torque wrench to tighten the castle nut to the manufacturer's recommended torque specification. Then, back the nut off about a quarter - turn. This will allow the bearings to rotate freely.
Step 13: Install the Cotter Pin
Once the bearing preload is adjusted, insert a new cotter pin through the hole in the axle and the castle nut. Bend the ends of the cotter pin to secure it in place.
Step 14: Reinstall the Dust Cap and Hub Cap
Next, put the dust cap back on the hub, followed by the hub cap. Make sure they're both securely in place.
Step 15: Reinstall the Wheel
Finally, it's time to put the wheel back on the trailer. Line up the holes in the wheel with the studs on the hub and install the lug nuts. Tighten the lug nuts using the socket set, but don't over - tighten them. You can use the torque wrench to tighten the lug nuts to the correct torque specification.
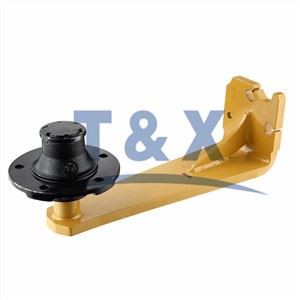
That's it! You've successfully replaced the bearings in your trailer wheel hub. Now, you might be thinking about where to get high - quality parts for your trailer. That's where we come in. We're a leading supplier of Trailer Wheel Hubs and related parts. We offer a wide range of products, including Hub Axles, Precision Machining Drive Shaft, Trailer Wheel Forged Hub Housing With Bearings & Races, and Trailer Wheel Stamping Hub Housing.
If you're interested in our products or have any questions about trailer maintenance, feel free to reach out to us for a purchase negotiation. We're always here to help you keep your trailer in the best shape possible.
References
- "Trailer Maintenance Manual" by a well - known trailer manufacturer.
- Various online forums and blogs dedicated to trailer repair and maintenance.